No amount of fertility, irrigation water or pest control, as important as these are to corn production, will undo the mistakes made at planting time.
For the dairy operation this means that you potentially set your corn crop to produce the highest quality of corn silage to feed your top-producing cows.
For the corn producer, this simply adds more yield to improve your bottom line. The objectives at planting time seem clear enough; it is good to remind growers what these are right before the planting season gets rolling.
Planting time objectives
• Place all seeds at a uniform depth and spacing. This is crucial.
• Set the planter at the correct seed drop. Not all hybrids require the same population to optimize yield.
• Provide the best environment for germination and emergence. All hybrids respond to a good soil environment.
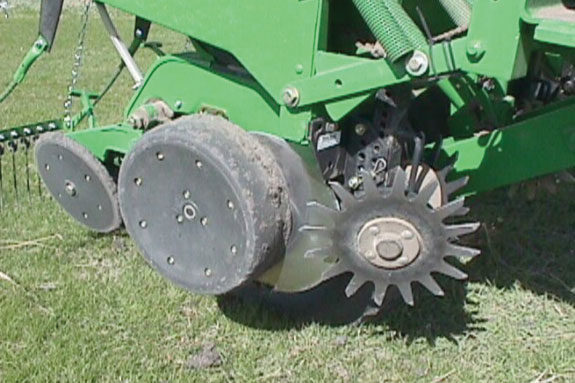
The potential for each field is set at planting time. Because your best potential is when all seeds germinate and establish at the same rate, the planter is one of the most important pieces of equipment sitting on your farm. Maintaining your planter at optimal condition will pay big dividends at harvest time. This means you should inspect the planter to see if all parts are in good condition.
Some common wear parts on the planter are:
• seed metering units
• seed drop tubes
• driveshaft bearings, chains and chain idlers
• double-disk openers and depth gauge wheels
In addition, the planter needs to be level and tires need to have correct air pressure.
Seed metering units
Maintaining seed metering units is crucial, and it is important to have meters adjusted and maintained at a dealership or an outfit that specializes in seed metering units. The cost is well worth it. However, because metering units often receive plenty of attention, the remainder of this discussion will focus on the more neglected planter parts.
Seed drop tubes and protectors
Over time, seed tubes and their protectors wear out if not replaced regularly. Seed tubes are curved to gently drop the seed into the seed trench. As a seed tube wears, that natural curve is worn down and the seed is dropped from a little higher elevation, causing bounce and roll that results in varied seed depth and spacing.
The seed tube protector is generally the first to wear out, which then leads to excessive wear on the drop tube. Check both the protector and seed tube for wear and replace both if they show significant wear. Sometimes it is helpful to have a new part on hand when determining if a part needs to be replaced.
Driveshaft and driveshaft bearings
Make sure the driveshaft is straight – no bends or bows. Over the years planters can get “banged up” when moving from farm to farm and field to field.
Disengage the chain drive so you can rotate the driveshaft freely to check for a straight driveshaft and worn bearings. The shaft should turn easily with a ratchet and socket attached to the end of the driveshaft. If not, the driveshaft bearings could be worn out. With worn driveshaft bearings the shaft will not turn smoothly, causing erratic plant spacing.
Double-disk openers and depth gauge wheels
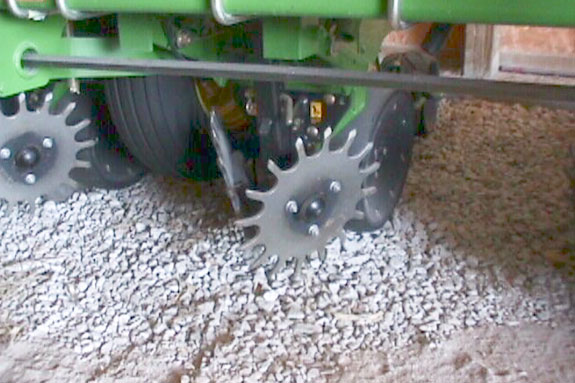
Make sure that double-disk openers are touching at least two to three inches at the four o’clock position. This will insure proper seed depth and placement. You can use a business card or a dollar bill folded in half to slide it from the top side and bottom side to measure the distance.
If you have two to three inches of “touch,” the disks are in good shape. Most disk openers are around 14 to 15 inches in diameter at the time of manufacturing. Once disks wear 0.25- to 0.5-inch down, they need to be replaced.
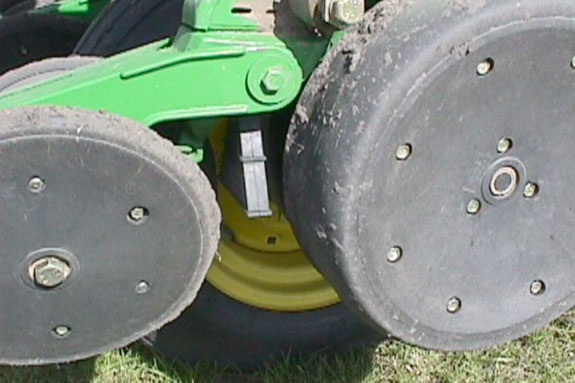
Another key item to check are the depth gauge wheels. In the “up” position, they need to turn about one revolution with moderate force when spinning the wheel. If they spin freely, then take one or two shims from the inside and place on the outside. Recheck to see if this does the trick. If not, bring one more from the inside to the outside.
Do just the opposite if the wheels touch the double-disk openers so tightly that they barely move. Take one or two shims from the outside and place them on the inside to free up that wheel. Frequently, appropriate action for one unit likely will be different for the next one. Yes, you have to check them all.
Planter unit and tire pressure
When you are ready to plant, check to see that the planter is level. This is best done in the field, under real-life conditions. All recommendations for setting and adjusting the planter are based on the premise that the planter is level. Generally you can “eyeball” to see if a planter is level, but a level is not a bad thing to carry with you when determining if the planter is level. A level planter will operate optimally. In addition, setting row cleaners correctly requires that the planter is level.
Attention to these details will help ensure that you achieve an optimal corn stand for 2010. FG
PHOTOS:
Because your best potential is when all seeds germinate and establish at the same rate, the planter is one of the most important pieces of equipment sitting on your farm. Photos courtesy of Brian Lewis.

Brian Lewis
Area Agronomist
Pioneer Hi-Bred

