There are myriad reasons to send a sample of irrigation water to the lab. From maximizing fertilizer efficiency to mitigating nutrient runoff, the case for testing is strong. No matter the reason for conducting a test, the quality of the sample that’s collected makes all the difference.
In any case where a laboratory is testing a sample of something, the underlying assumption is that the sample is an adequate representation of the larger body from which it came. This is true for all types of testing in disciplines ranging from the healthcare industry to metallurgy to agriculture. In fact, proper sample collection is an entire field of study in and of itself.
The main finding from this field of study is: Sample collection strategies should include considerations for location, timing and storage, among others. The best practices for sample collection will vary slightly depending upon the end goal of the test, so it’s important to know what the results will be used for. For example, in a situation where the results will be used to determine the risk of nutrient loading to a nearby water body, the sample should be collected from an effluent point of the field, nearest the water body of concern, approximately midway through the peak flow of that effluent point.
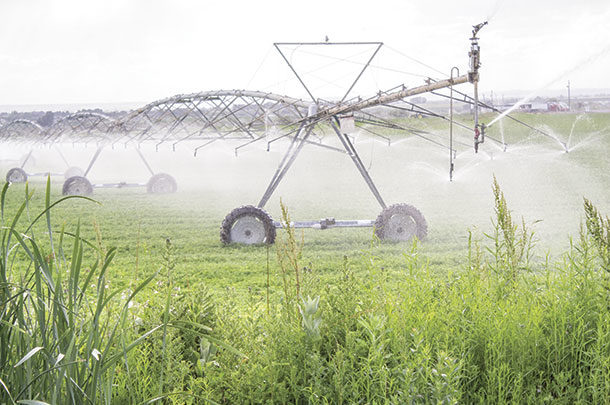
Looking at the sampling considerations in more detail, choosing the proper sampling location is the most important step to collecting a quality sample. Samples should always be collected as close to the “use point” as possible. In the above case, the use point would be where the water leaves the field. By contrast, in a case where the intent of the test is to know exactly what the irrigation water may be contributing to the nutrient needs of the plant, it would be pertinent to collect the sample as near the plants as possible. For example, if irrigation is via a sprinkler system, placing a collection cup among the crop, where the irrigation water falls, is a good practice (as long as the cup is protected from soil splash and other contaminants). Similarly, in a flood irrigation system, it would be best to collect water from a furrow, not the canal the flood water comes from.
The sample location represents the larger population with respect to the geographic plane, so aside from getting as close to the use point as possible, the sample should also be located as close to the physical center of the activity as possible. In the case of a center-pivot sprinkler, this would be half the distance from the pivot to the end of the pipeline. This helps to ensure that any anomalies introduced at the extreme ends of the irrigation system are mitigated as much as possible.
Depending on the irrigation source and the type of equipment used, there can be significant change in the water chemistry over the duration of the growing season or even over a single irrigation event. This is why the timing of a sampling event should also be considered. Just as the location represents the larger population geographically, timing represents the larger population in the temporal plane. Open sources of water such as ponds or canals are subject to seasonal and weather influences because heavy rains or winds can stir sediments, creating higher dissolved and suspended solids, thereby increasing the nutrient load. On the other extreme, drought will reduce the amount of water and concentrate salts and other minerals, so sampling at a time outside of unusual weather events is highly recommended.
The important thing to remember is: During an irrigation event, water is constantly flowing throughout the entirety of the system, from the source to the end of the line. When the pumps first kick on, they’ll be sucking water from a relatively stable environment where sediment has had time to settle out and biological activity has equilibrated to one point or another. As the pumps gather steam, however, the system will begin to change. The water that flows to the inlet will need to travel some distance and may bring fresh sediment with it – and by the end of the event, the sediment load may be at its highest. To capture an average representation of the entire irrigation event, the sample collection should be timed near the middle of the event.
As a final note, sample storage is often overlooked and can easily undermine all of the hard work that went into collecting a good sample. Sample storage, also known as sample hold time, refers to all of the time that passes between sample collection and analysis. Microbial and chemical interactions do not stop once the sample is collected – and under the right conditions, these interactions may even ramp up, making the water that gets to the lab different from the water that was collected. Laboratories often provide guidelines on sample storage and any special instructions such as shipping the sample on ice or using specially coated sample bottles.
Nobody likes to waste money, and the first step toward making any analysis useful is to collect a proper sample. Not doing so can lead to, at best, a waste of time and money – and, at worst, serious management missteps. Be sure to work with the laboratory and follow any guidelines they have to offer. Often, the lab will provide shipping and collection materials at no charge. It’s also wise to work with the lab to ensure the reports are well understood and the interpretations are clear. With these tips in mind, irrigation water testing can be a really useful tool in the resource management toolbox.


